


Course Info
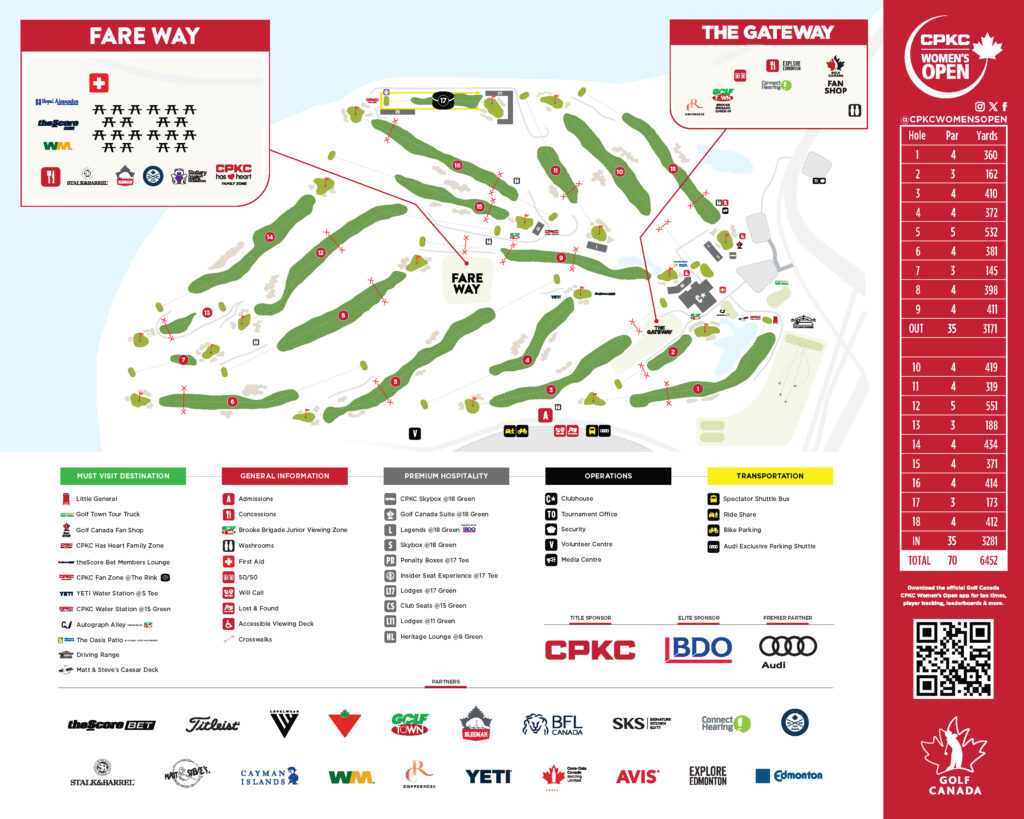
Site Map
Hole Overviews
Front 9
-
 Hole 1Par 4 (360 yards)
This opening hole presents an immediate risk-reward decision: lay back from the trouble and face a longer approach, or play aggressively from the tee to set up a better birdie opportunity. Accuracy is essential when approaching the narrow green.
-
 Hole 2Par 3 (162 yards)
The middle of the green is always a smart target on this demanding long par 3. Take your par and move on.
-
 Hole 3Par 4 (410 yards)
Longer hitters may challenge the slight dogleg right to leave a shorter approach, but the real test awaits on a green that runs away toward the back. Its subtle contours will challenge players’ reads throughout the week.
-
 Hole 4Par 4 (372 yards)
This dogleg left features arguably the most interesting green complex on the golf course. Finding the correct portion of the putting surface will be critical to creating a realistic birdie opportunity.
-
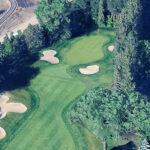 Hole 5Par 5 (532 yards)
The first of two par 5s offers a tempting opportunity for players considering reaching the green in two. That aggressive play brings a myriad of risks into play, including out of bounds down the left side.
-
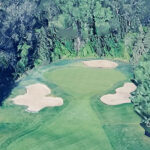 Hole 6Par 4 (381 yards)
One of the most visually appealing holes on the course, this par 4 appears to play downhill despite being relatively flat. Precise club selection on the approach will be essential.
-
 Hole 7Par 3 (145 yards)
A classic Stanley Thompson par 3, this hole is beautifully framed and well defended by greenside bunkers. A confident, accurate iron shot is required to find the putting surface.
-
 Hole 8Par 4 (398 yards)
An awkward tee shot encourages players to favour the right side, bringing thick rough and the tree line into play. On this long par 4 with a challenging green, par will be an excellent score.
-
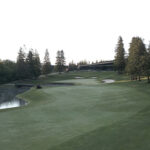 Hole 9Par 4 (411 yards)
The members’ 18th hole is a classic finishing par 4, with players likely laying back short of the water from the tee. The day’s hole location will determine how bold they can be with the approach.
Back 9
-
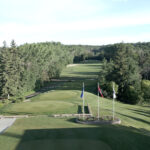 Hole 10Par 4 (419 yards)
This beautiful par 4 plays downhill from the tee, but a lengthy and accurate drive is still needed to leave a manageable approach. The heavily protected green demands a precise mid-iron shot.
-
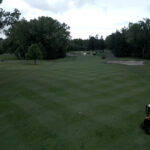 Hole 11Par 4 (319 yards)
Depending on the tee selection and wind direction, the longest hitters may challenge this short par 4 and drive the ball close to the green. It is one of the best birdie opportunities on the course.
-
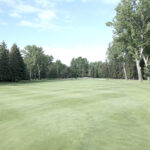 Hole 12Par 5 (551 yards)
This dramatic dogleg-left par 5 will be difficult to reach in two, prompting most players to approach it as a three-shot hole. A well-positioned layup should provide a strong birdie opportunity into the inviting green.
-
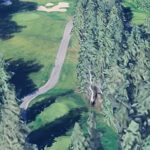 Hole 13Par 3 (188 yards)
This par 3 features a small target surrounded by punishing bunkers. A hole location on the right side of the green will make it especially difficult for players to get close.
-
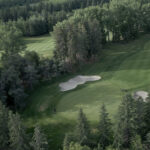 Hole 14Par 4 (434 yards)
A long par 4 bordered by a waste bunker down the left, this is traditionally the most difficult hole for the membership. Longer hitters will have a distinct advantage when attacking this demanding test.
-
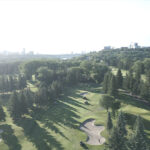 Hole 15Par 4 (371 yards)
The closing stretch begins with a short par 4 that rewards an accurate tee shot with a short-iron approach and an excellent birdie opportunity. Players will want to take advantage before holding on through the difficult finish.
-
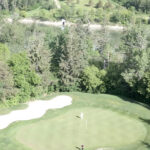 Hole 16Par 4 (414 yards)
This long par 4 demands a powerful, accurate drive to the fairway. Missing to the right will bring a variety of trouble into play and make reaching the green considerably more difficult.
-
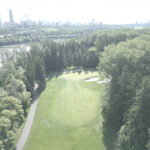 Hole 17Par 3 (173 yards)
The final par 3 is a classic, mid-length test featuring a green capable of producing several challenging hole locations. Distance control will be crucial to setting up a reasonable birdie putt – or securing par.
-
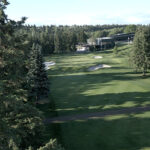 Hole 18Par 4 (412 yards)
The finishing hole is no easy assignment, beginning with a tee shot that asks players to shape the ball from left to right to find the fairway. From there, they will approach the amphitheater with a mid-iron to one of the course’s largest greens, where the hole location can influence club selection by as many as three or four clubs.
Yardage and Par
| Hole | 1 | 2 | 3 | 4 | 5 | 6 | 7 | 8 | 9 | OUT |
| Yardage | 360 | 162 | 410 | 372 | 532 | 381 | 145 | 398 | 411 | 3171 |
| Par | 4 | 3 | 4 | 4 | 5 | 4 | 3 | 4 | 4 | 35 |
| Hole | 10 | 11 | 12 | 13 | 14 | 15 | 16 | 17 | 18 | IN | TOTAL |
| Yardage | 419 | 319 | 551 | 188 | 434 | 371 | 414 | 173 | 412 | 3281 | 6452 |
| Par | 4 | 4 | 5 | 3 | 4 | 4 | 4 | 3 | 4 | 35 | 70 |